Kitchen
This is where it all the renovations began. One day in 1982 Wisteena decided she wanted to renovate the kitchen. I assumed she would be happy with new sheet vinyl and maybe new cabinet doors. No, she had decided to move the kitchen from the front of the house facing the street to the back for a prettier view from the kitchen sink. All we had to do was remove walls, rip up floors, relocate electrical power, water and ventilation ducts, purchase new cabinets, etc. etc. etc. Lookout poorhouse, here we come!
The photos are grainy and sketchy since the 35 mm camera was going on the fritz and these photos were scanned from 25 year old negatives.
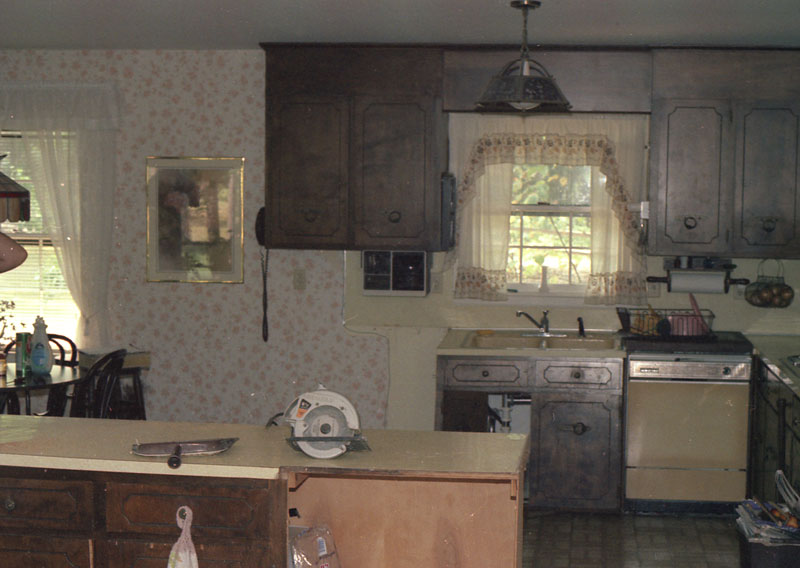
The old kitchen after the peninsula is removed and sits in the foreground. Remember those 70's colors?
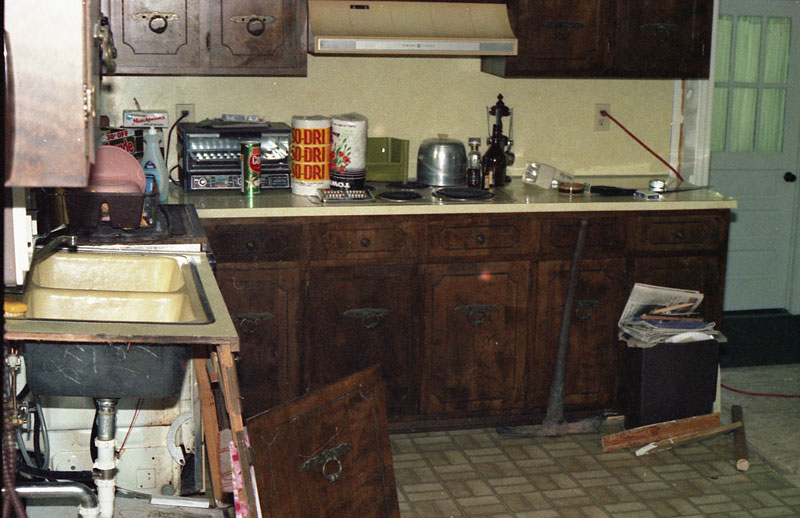
This area will become the wet bar.
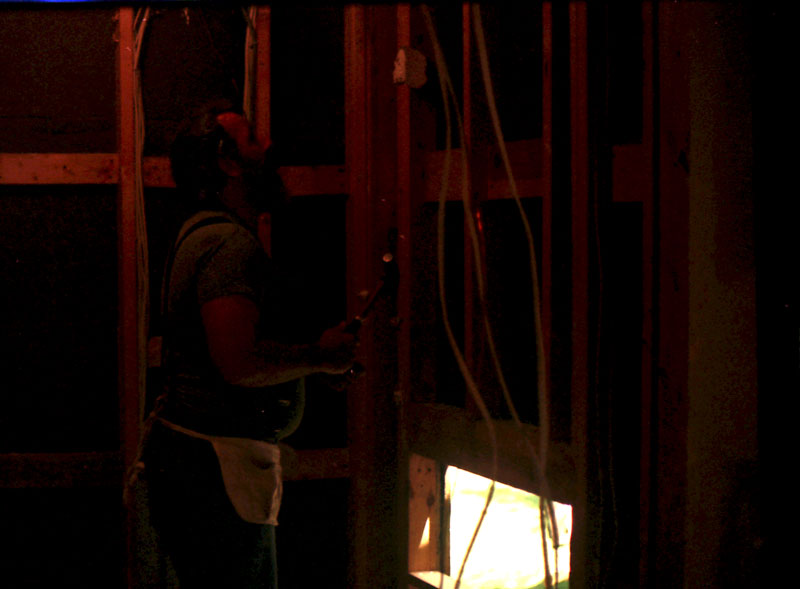
After all the cabinets, walls and door were removed, a utility room on the back of the house had the door sealed, and the wall between it and the mud room was removed. Then the inside floor was carried across the utility room to get to the back wall.
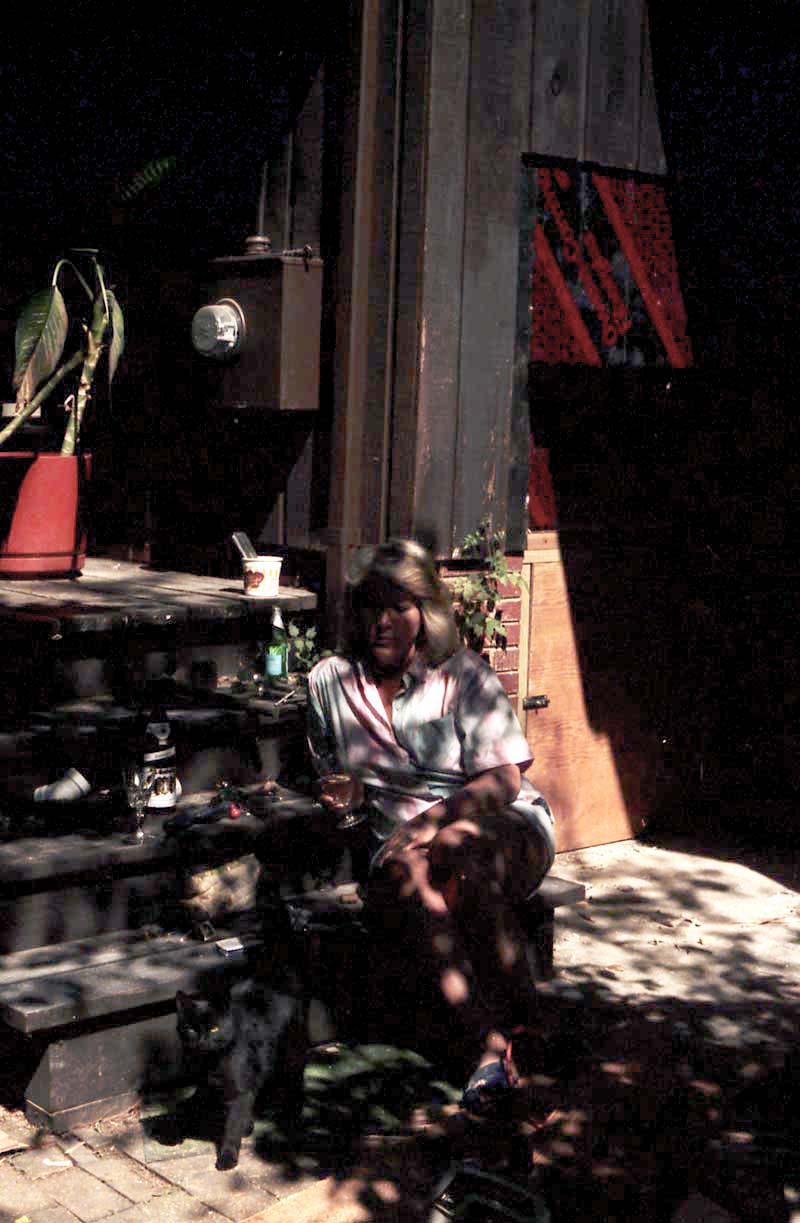
Here Wisteena and the cat inspect the utility room doorway after I had sealed it and made it into a crawlspace door. the sheathing goes on next.
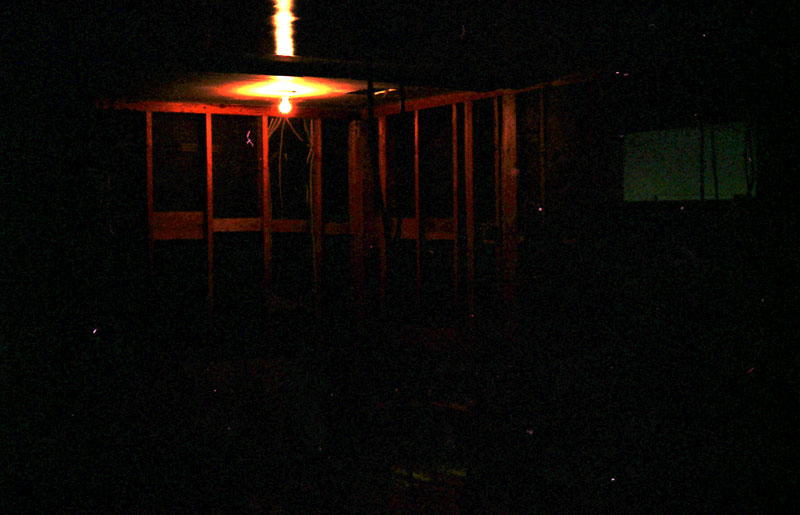
As the camera slowly sinks into the sunset, the final photos of the demolition before it croaked.

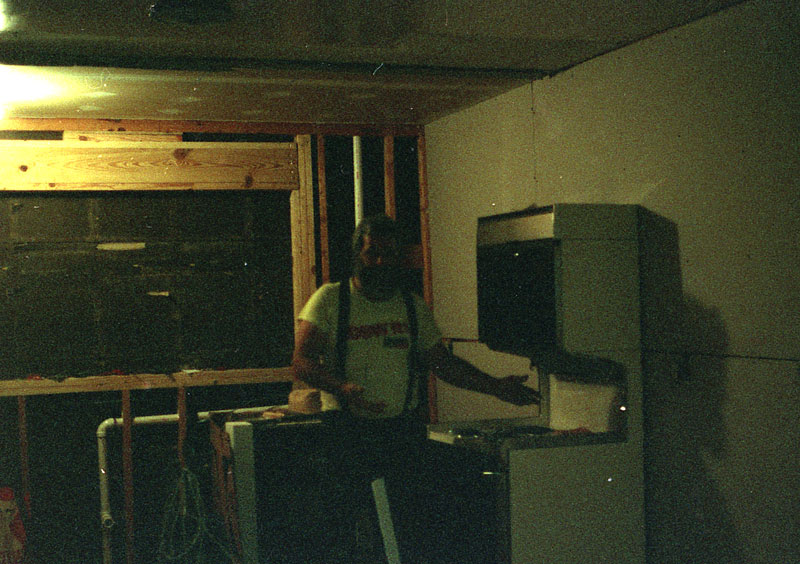
The new appliances arrive. I guess they aren't impressive at this stage of renovation.
After the mud room walls were removed, the drywall was removed. Doorways were widened and wiring was done. Sadly, the camera was in Camera Hospital and no photos were take during this phase of the work.
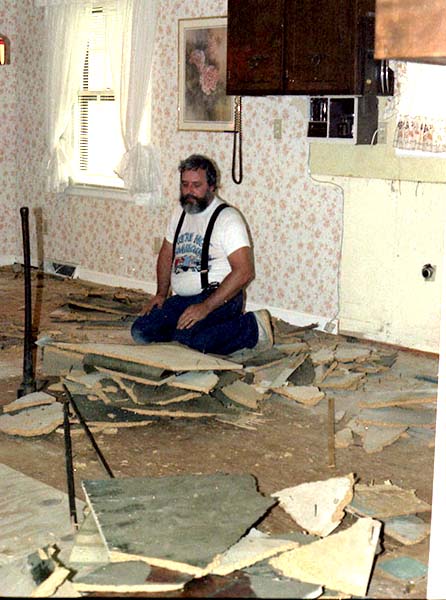
The photos pick back up with a repaired camera just in time to catch me ripping up the particle board sub floor so I can replace it with plywood to stiffen the floor enough to lay ceramic tile. See how much fun I'm having?
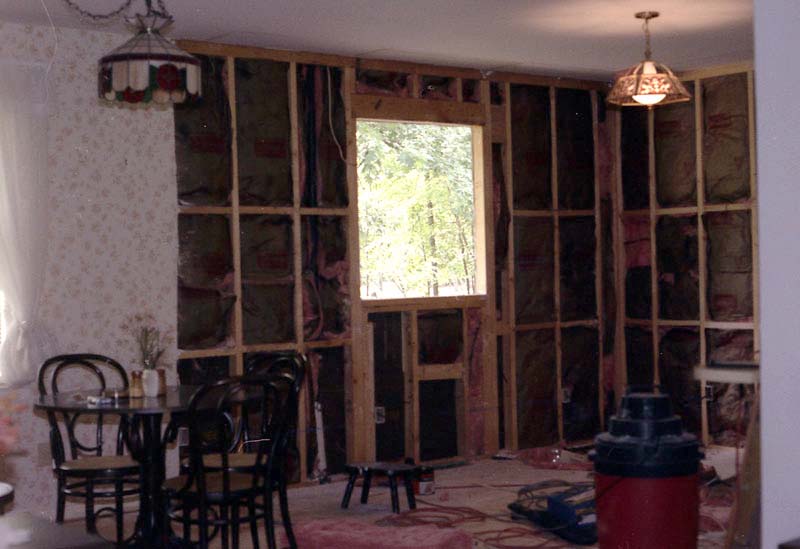
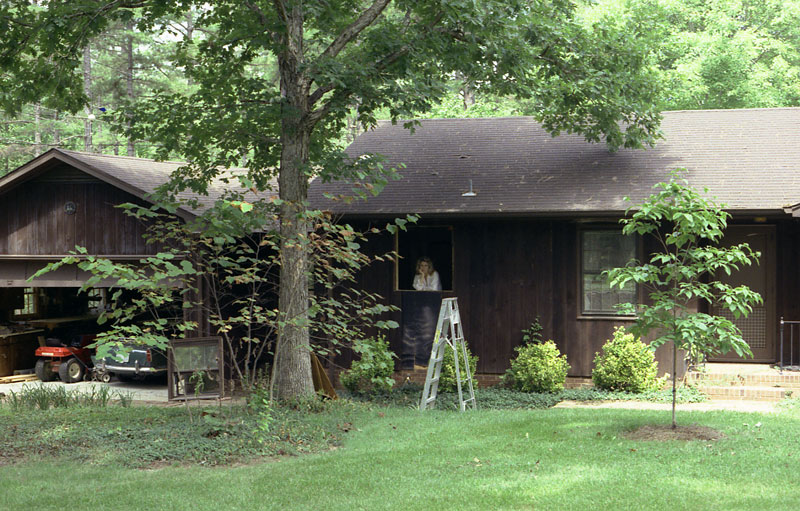
The old kitchen window had to be relocated to the left to accommodate the wet bar. What the heck, replace it and the remaining dining room window with an Andersen vinyl clad.
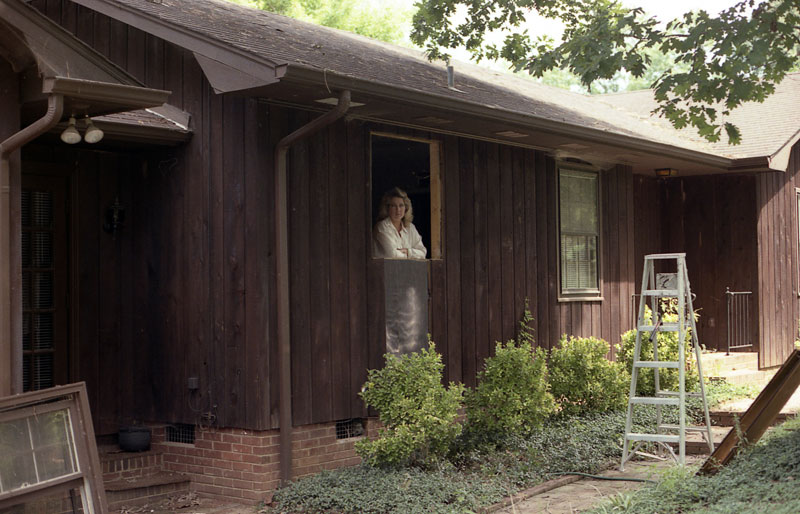
Wisteena supervises the window work.
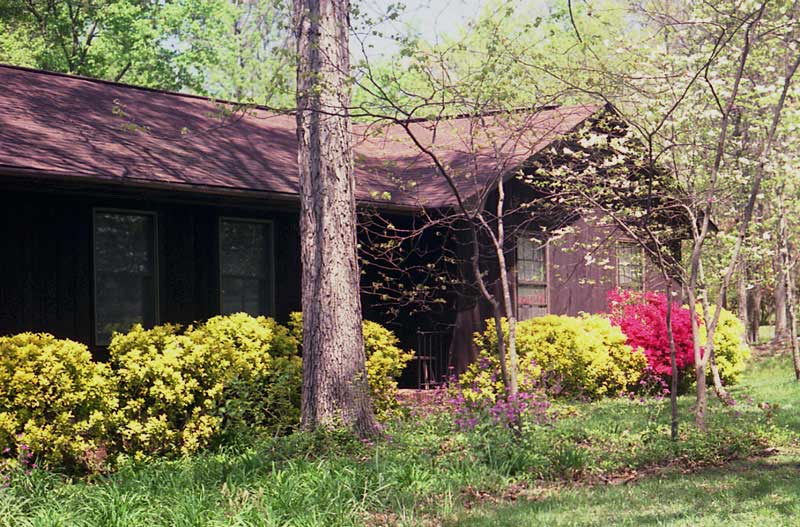
Here is a picture a of the new windows in the dining room a few years later. (I wasn't so meticulous about my picture taking back then.) The far right windows get replaced in the bedroom renovation at a later date.
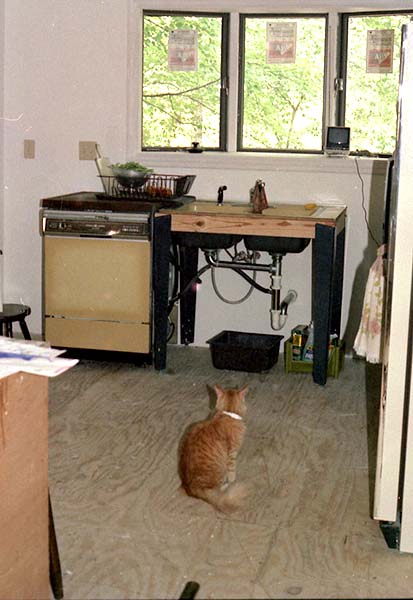
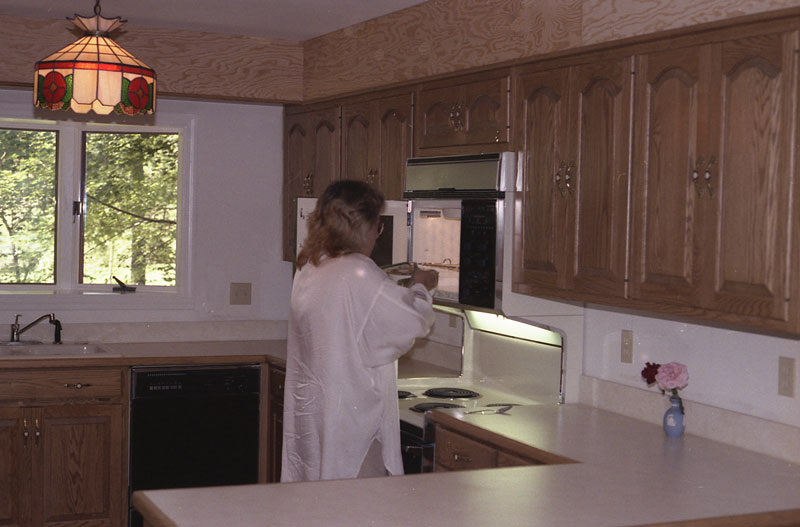
Finally, progress. The new bow window is installed in the back wall of the house, the drywall done and the kitchen is useable, sort of. We used this sink and dishwasher for 8 months during the renovation.
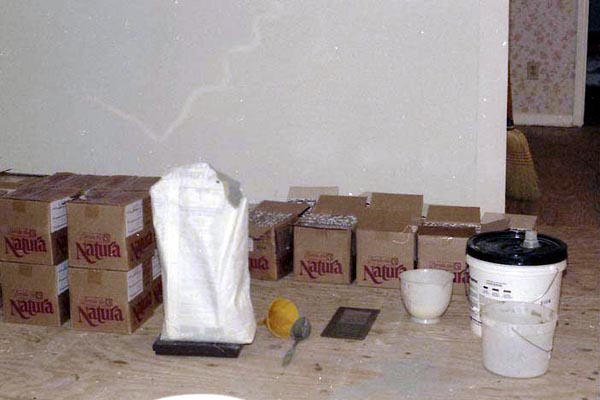
The tile job. This is the first batch of tile, the rest are still in the garage.

The tile job proceeds. It took me a week to finish the job after my day job and on the weekend.
>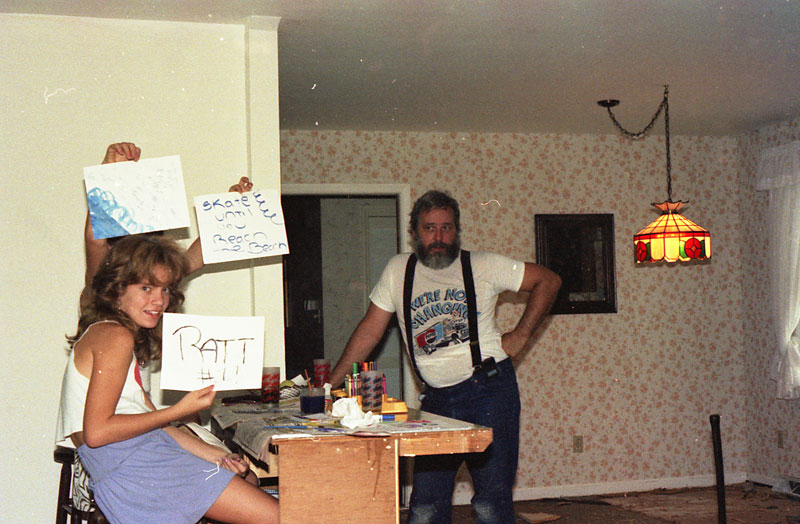
My supervisors watch as I work my guts out. I'm not sure what that look I'm giving them is about, but I'm sure that they deserved it.
The kitchen cabinets (I had these made by a local cabinet maker) and new appliances are finally installed.
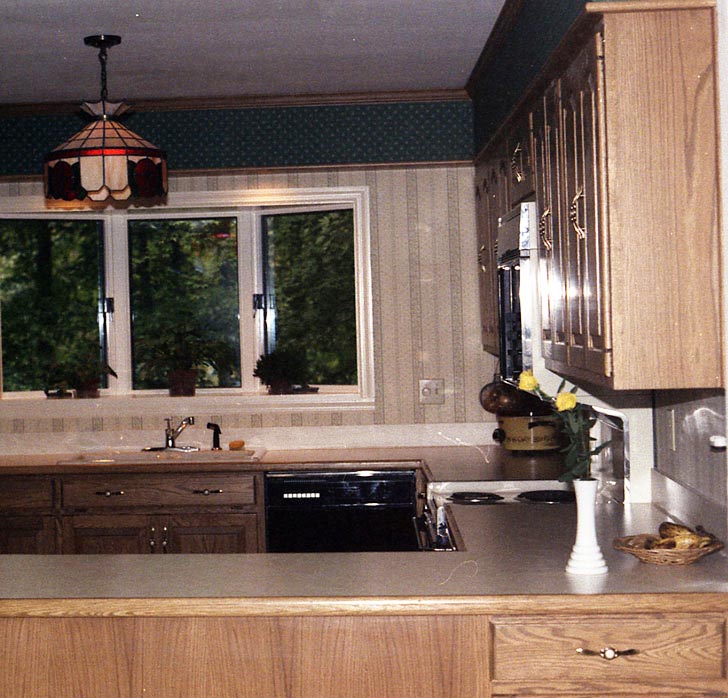
The kitchen wall paper is completed.
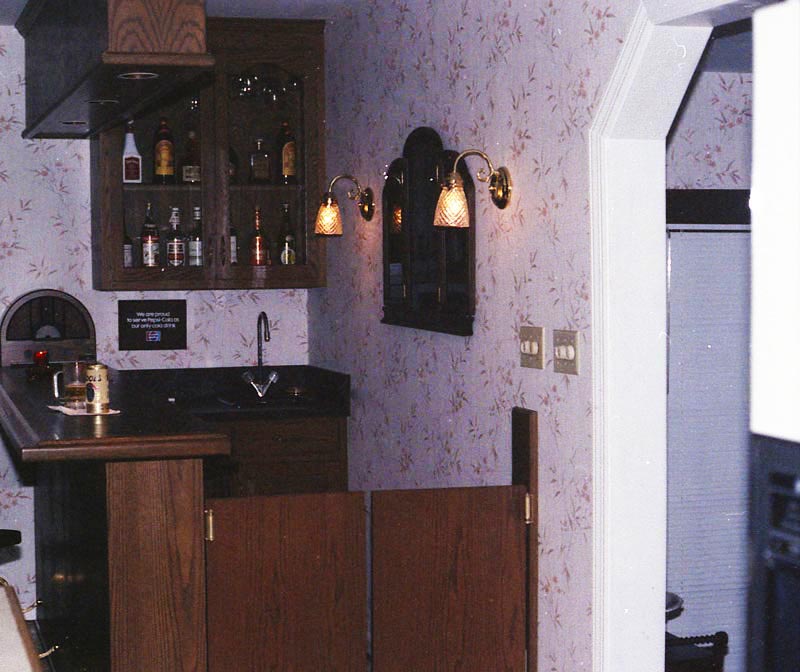
The wet bar and new wall paper. I still have to fabricate the leaded glass for the cabinet door.
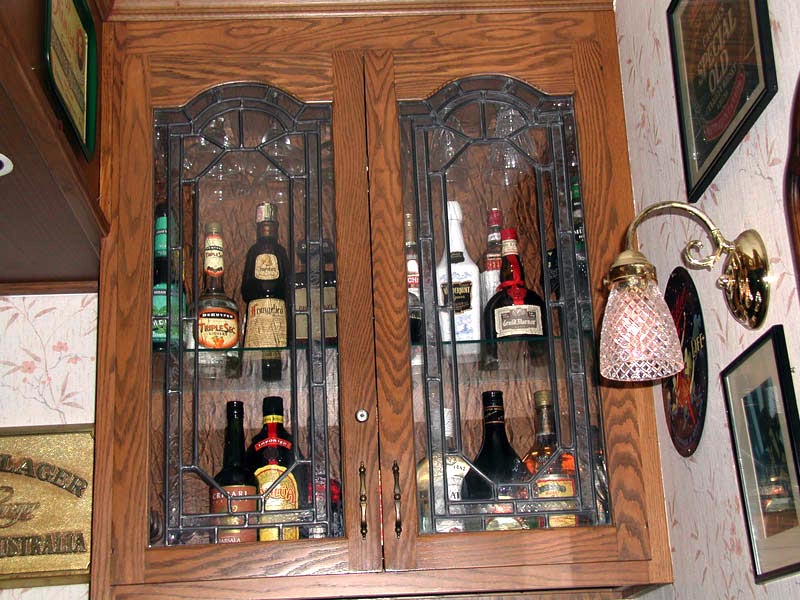
The glass for the doors.
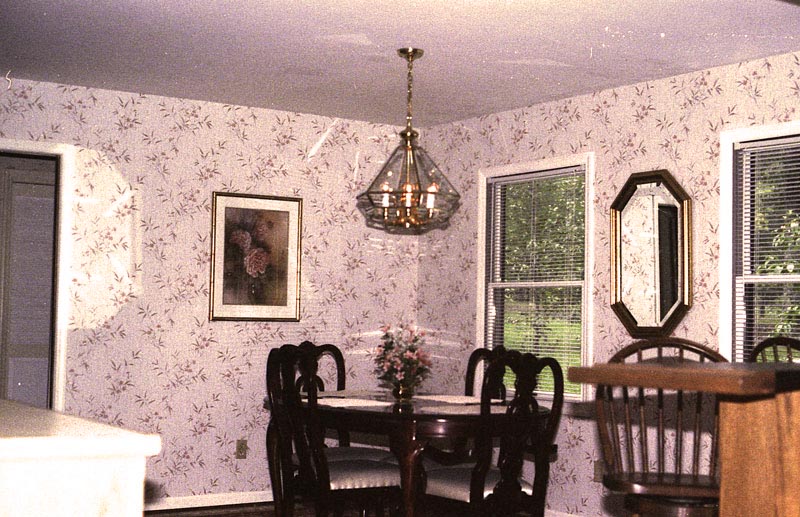
The dining room with wall paper and new table and chairs.
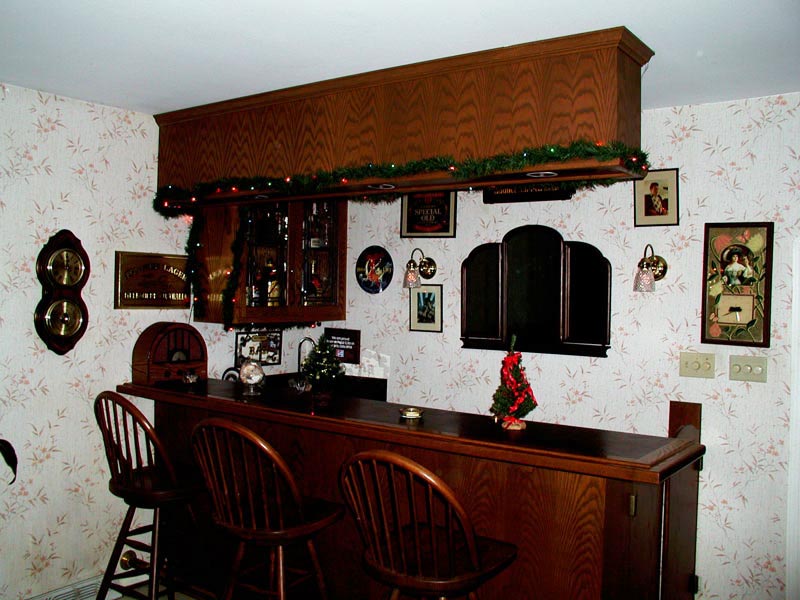
The first Christmas after the renovation.